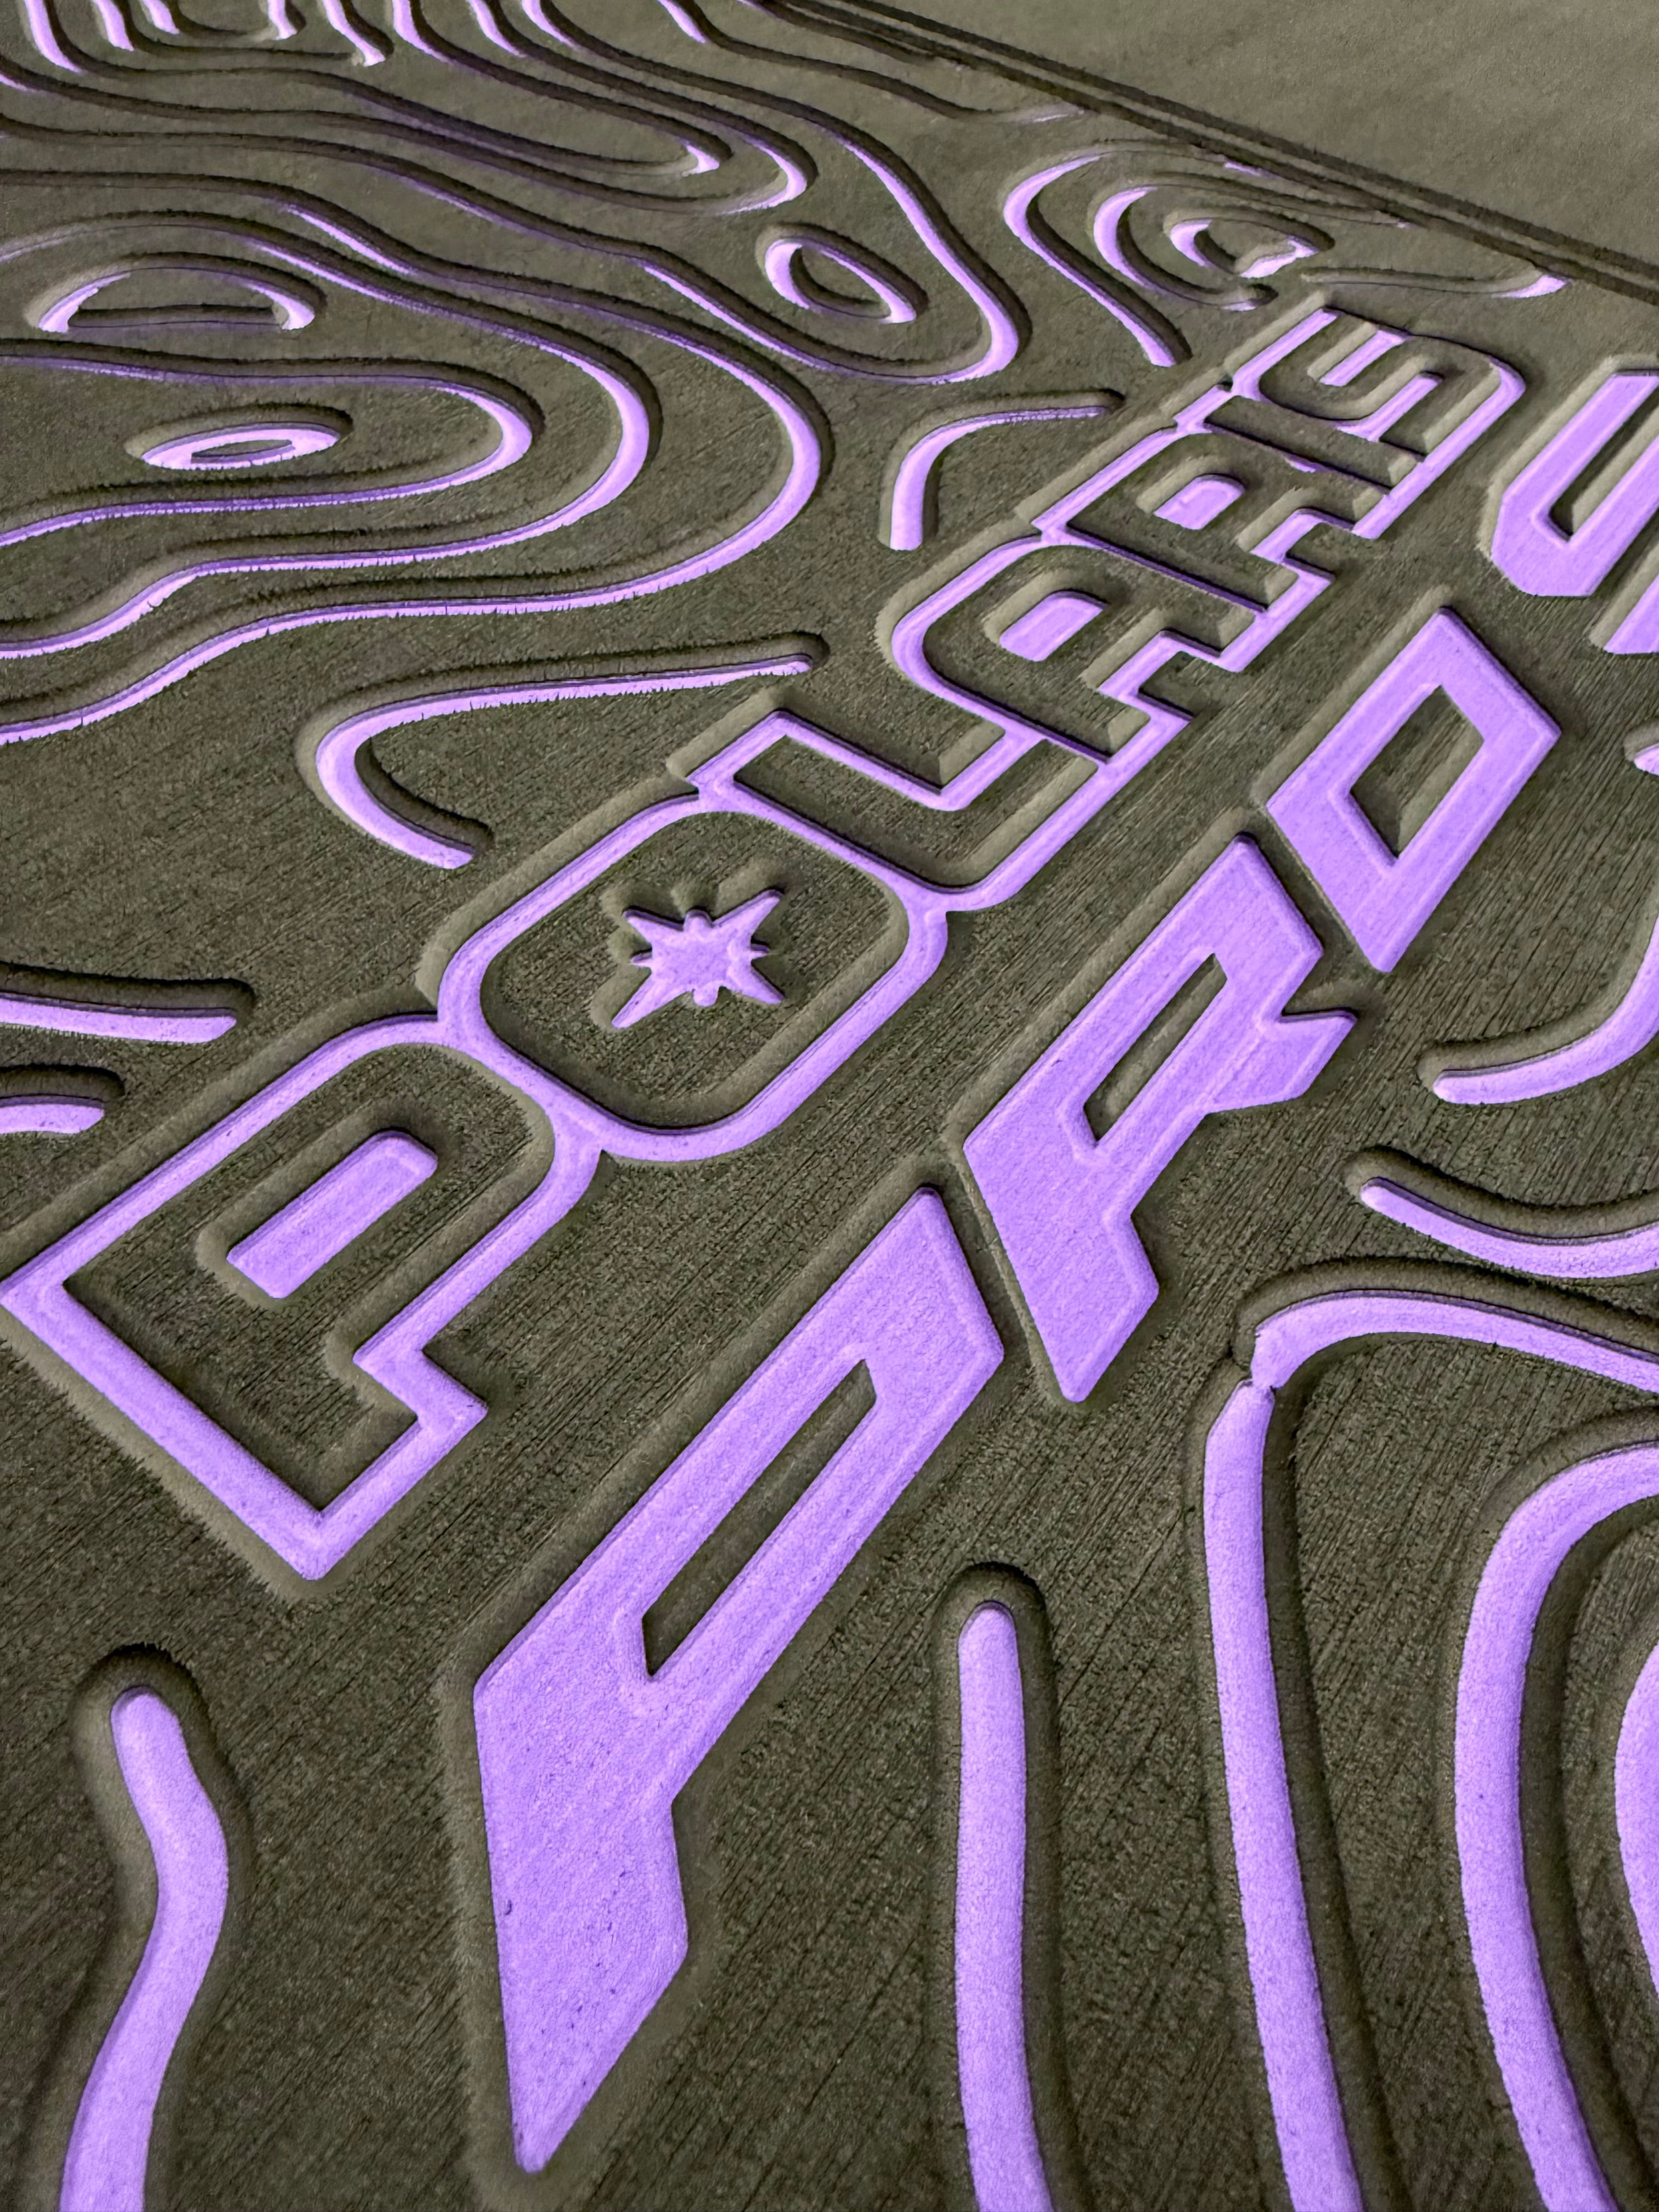
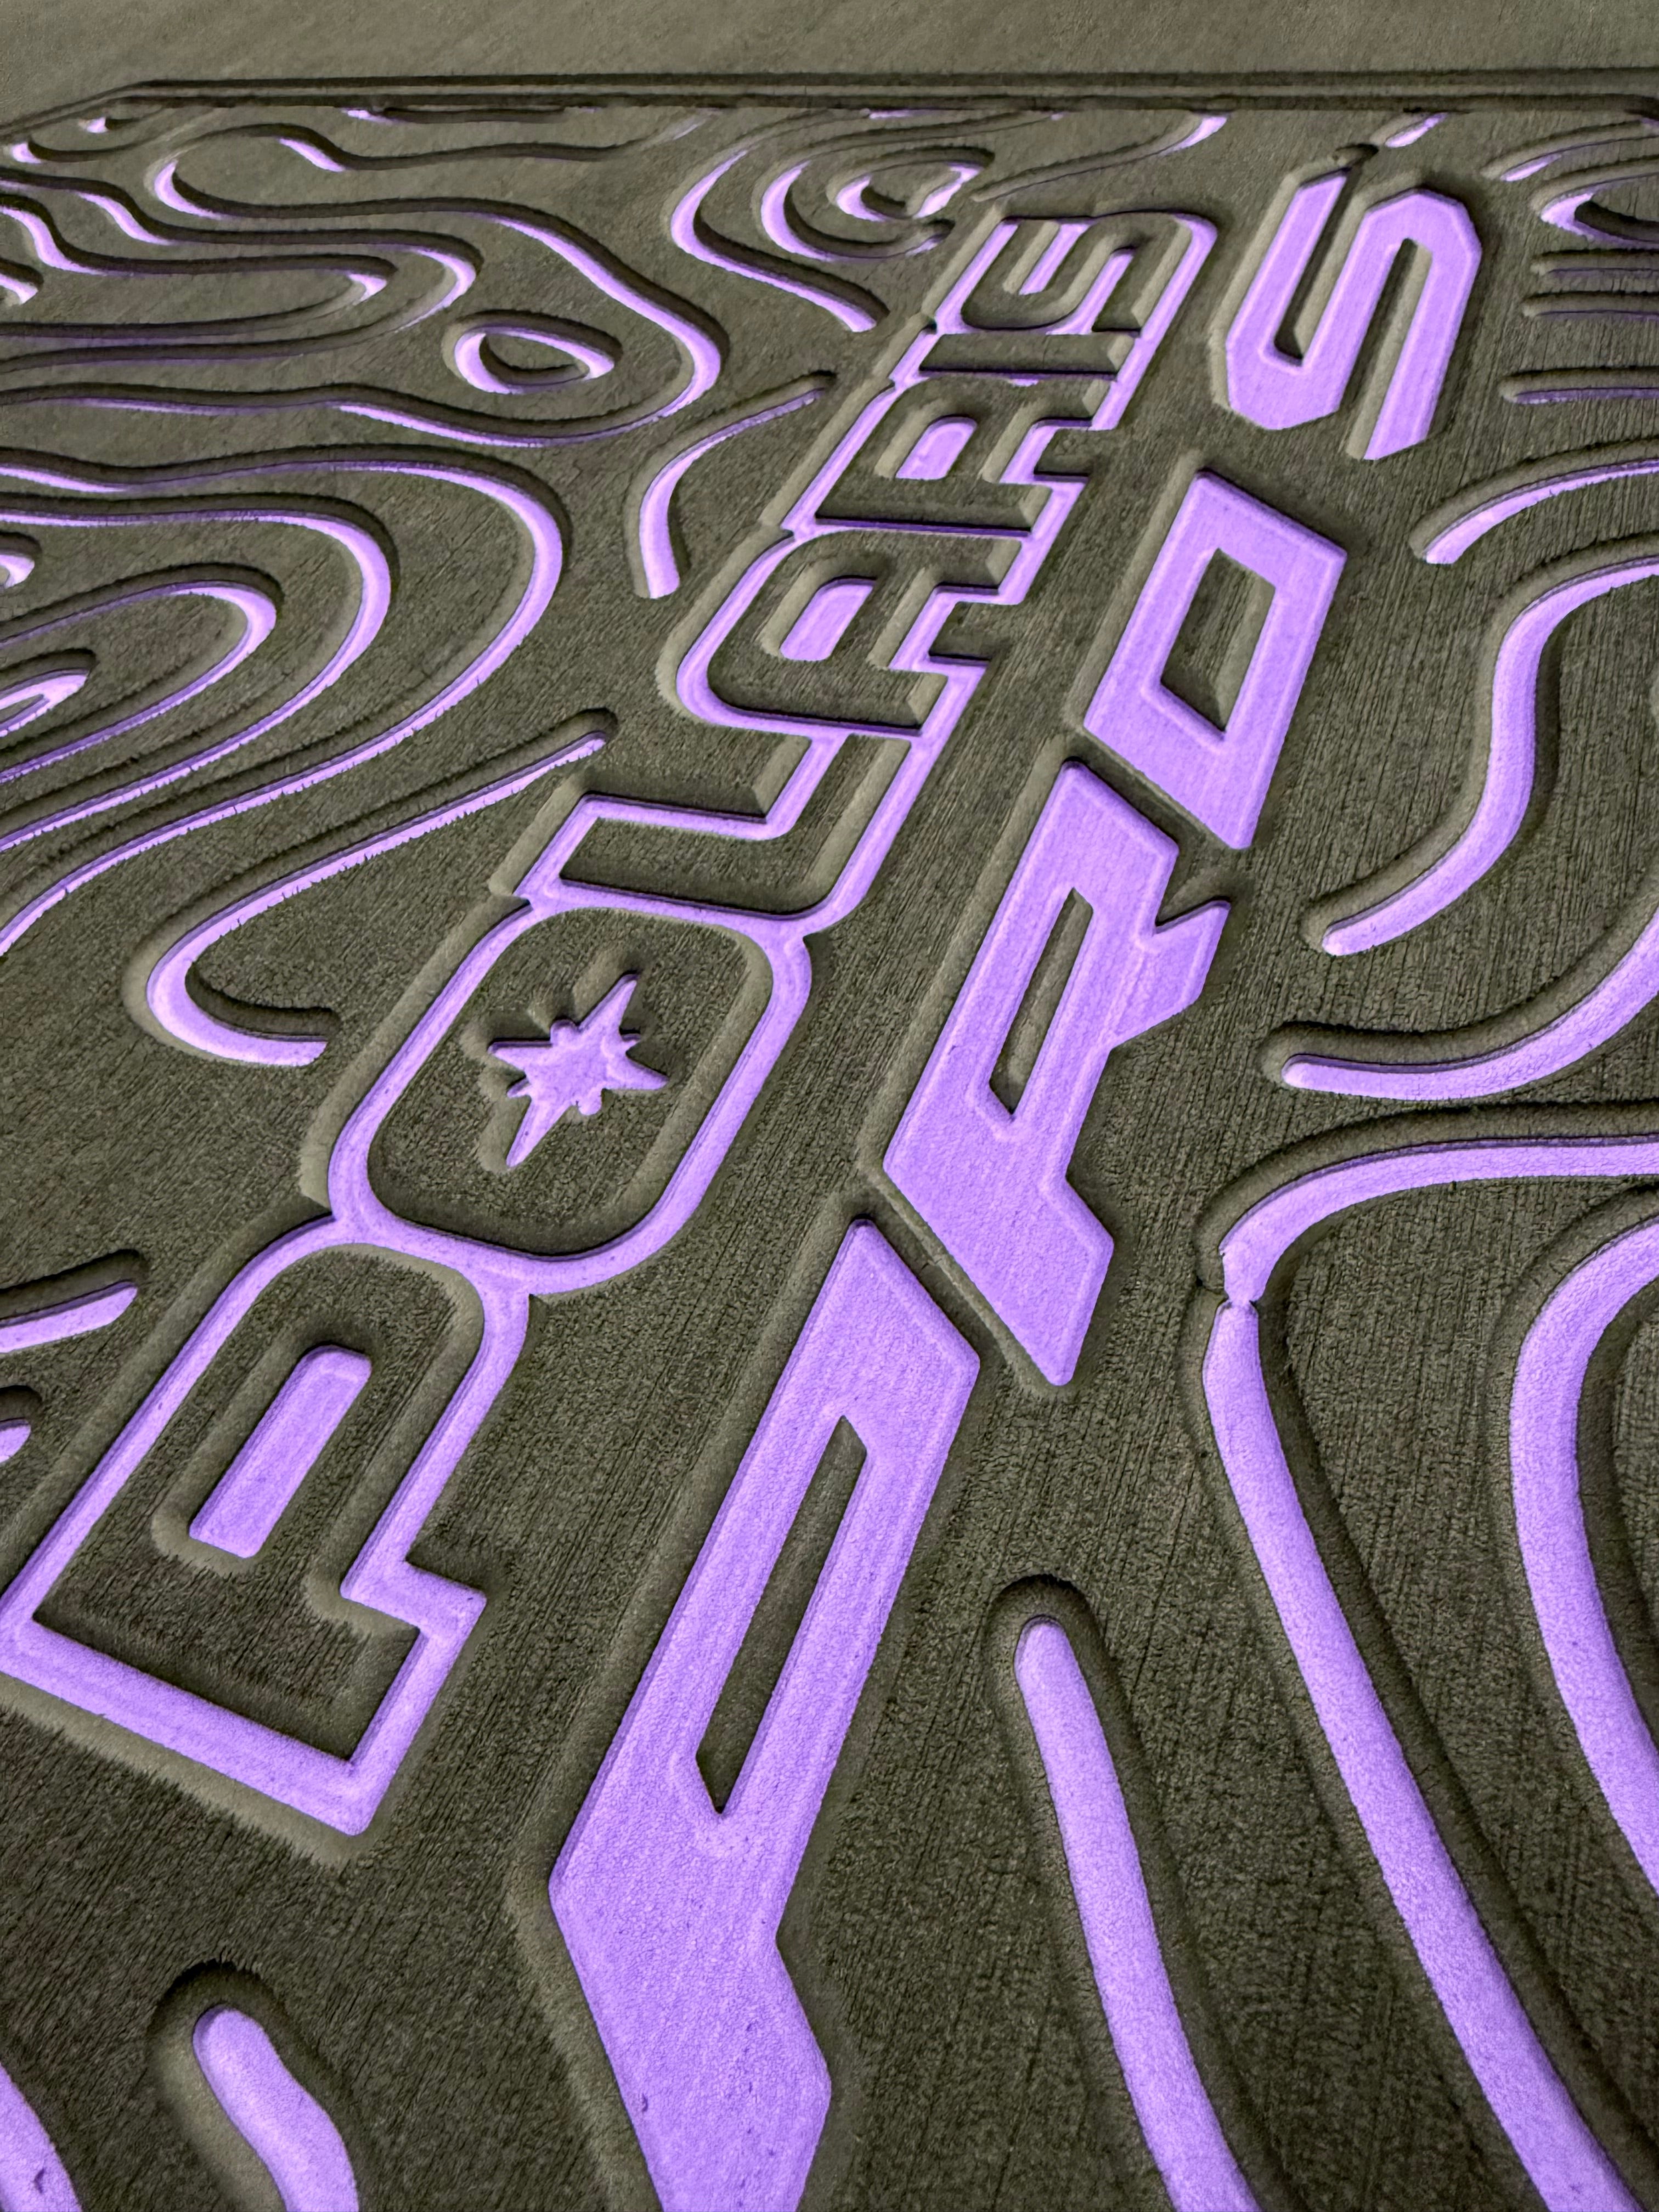
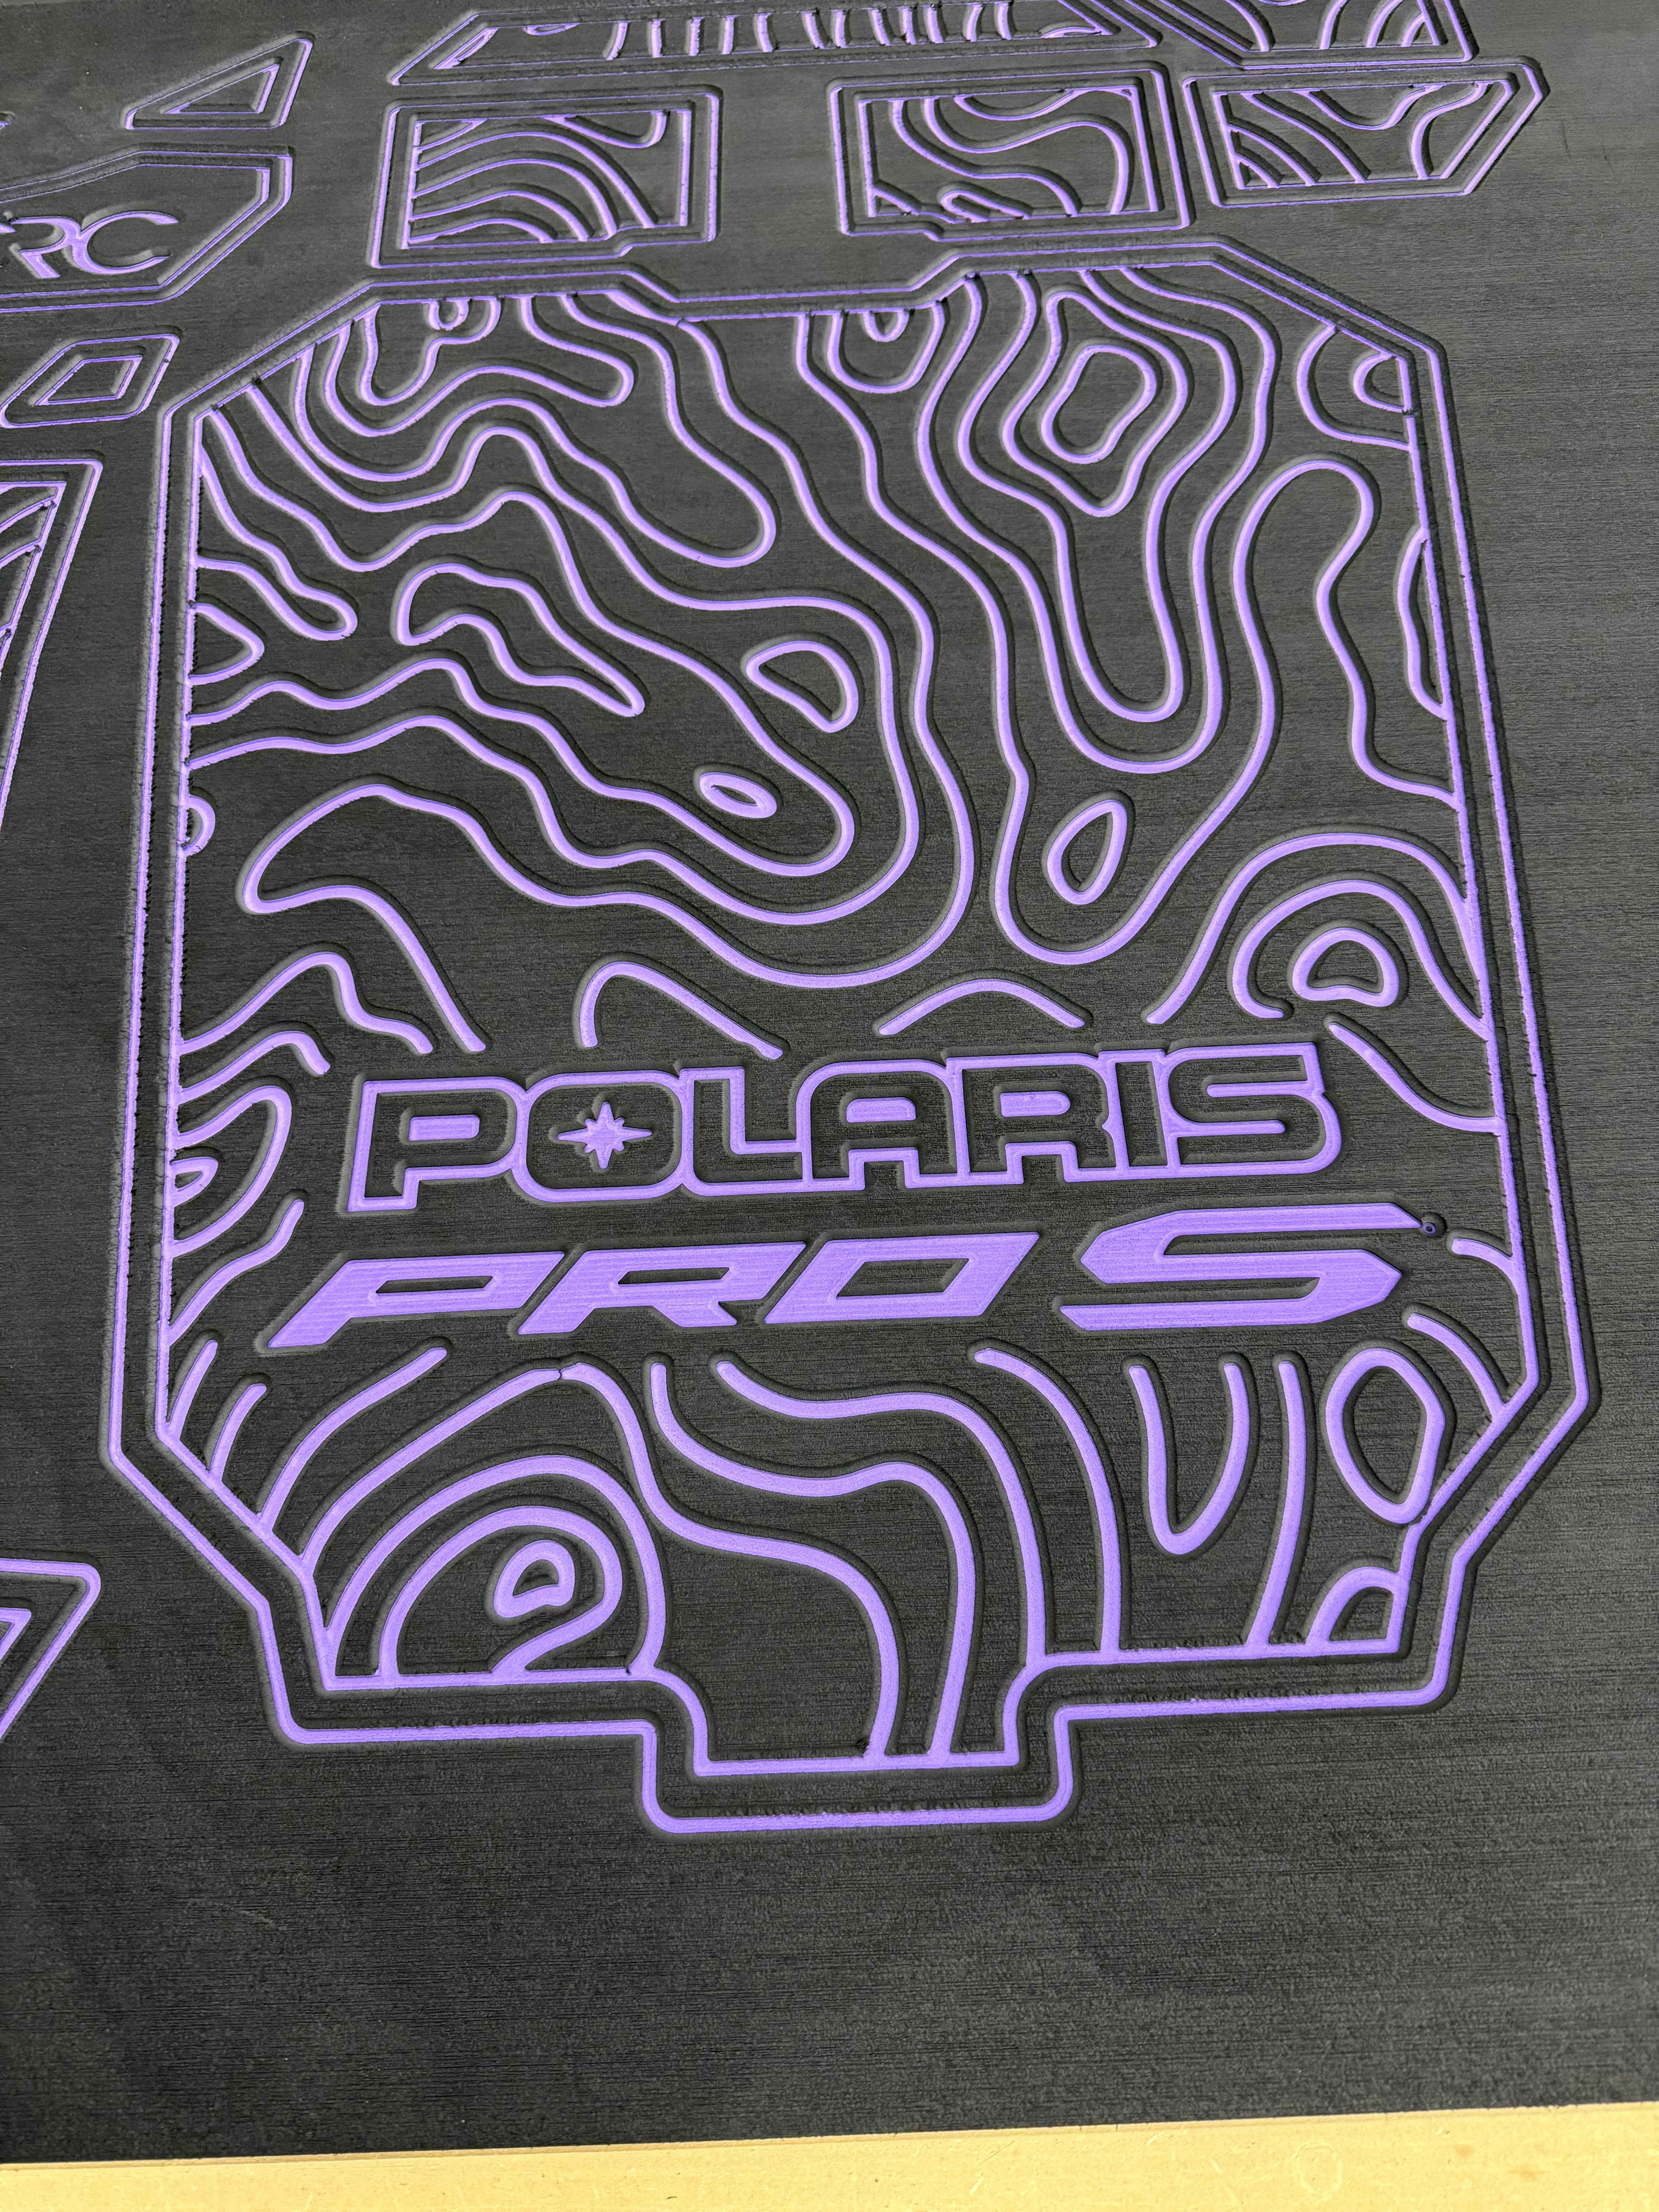

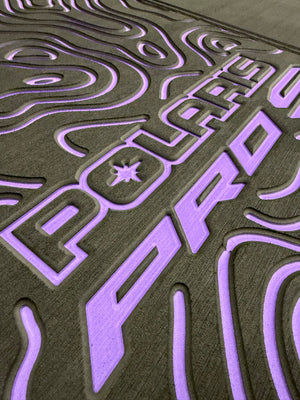


Polaris Pro Series - Bed Kit 2 Seat
Estimate delivery times: 14-21 days (United States).
No refunds for printed foam items post-shipping. Contact us at crcfoam@gmail.com for defects.
Guarantee Safe Checkout
Polaris Pro Series - Bed Kit 2 Seat
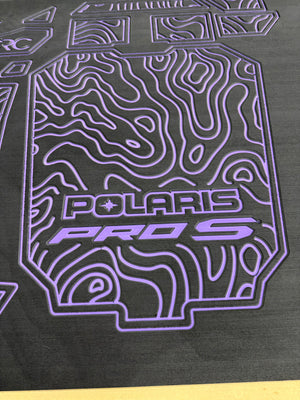
Introducing the Polaris Pro Series - Bed Kit, featuring the Pro Series 2025+ and custom EVA foam for added comfort and durability. The bed mat is easily removable and made with 1/4 inch thick rubber, providing excellent protection for your vehicle. Personalize your ride with custom design and color options. Upgrade your off-roading experience with confidence.
* Fits 2025 - Pro R, Pro S, and Pro XP
Installation Guide: Applying EVA Foam to Your Product
Follow these simple steps to effectively install EVA foam on your product.
Ensure you have all necessary materials before starting.
Materials Needed
-
-
EVA foam sheets
-
Isopropyl alcohol
-
Clean cloths or paper towels
-
Scissors or a utility knife (if trimming is needed)
-
A clean, dry workspace (preferably indoors with a warm temperature)
-
Step-by-Step Instructions:
1. Prepare the Surface
-
-
Clean Thoroughly: Begin by thoroughly cleaning the area of your SXS, Truck, Boat, or Cooler where the EVA foam will be applied. Remove all dirt, grease, and debris using a suitable cleaner.
-
Remove Protective Sprays: Ensure that no protective sprays like ShineOn or SC1 are present on the surface. These can interfere with the adhesive properties of the EVA foam.
-
2. Clean with Alcohol
-
-
Apply Isopropyl Alcohol: Dampen a clean cloth or paper towel with isopropyl alcohol.
-
Wipe Down Surface: Carefully wipe the entire surface where the foam will be attached. This step ensures that the area is free from oils and residues, promoting better adhesion.
-
Allow to Dry: Let the surface dry completely before proceeding.
-
3. Temperature Considerations
-
-
Avoid Cold Conditions: Installing EVA foam in cold environments is not recommended as low temperatures can affect the adhesive's effectiveness.
-
Warm the Foam if Necessary: If you must work in a cold area, bring the EVA foam indoors and allow it to warm up to room temperature before installation. This ensures optimal adhesion.
-
4. Align and Position the Foam
-
-
Position the Foam: Take the EVA foam sheet and align it with the desired placement area on your SXS, Truck, Boat, or Cooler. Ensure it is correctly positioned before adhering.
-
5. Adhere the Foam
-
-
Peel Back Adhesive: Starting at one corner, gently peel back a small section of the foam’s adhesive backing.
-
Press the Corner: Carefully press the exposed adhesive corner onto the surface where you want the foam to be placed.
-
Gradually Apply the Foam: Slowly pull the adhesive backing away from under the foam as you press the foam onto the surface. Use a smooth, side-to-side motion to apply even pressure.
-
Eliminate Air Bubbles: As you adhere the foam, continuously rub it side to side to prevent and eliminate any air bubbles from forming.
-
Check for Bubbles: Once the entire foam sheet is applied, inspect the surface for any remaining air bubbles.
-
Press Out Bubbles: If you find any bubbles, gently press them out towards the edges of the foam to ensure a smooth, secure finish.
-
Tips for a Successful Installation:
-
-
Work in a Warm Environment: Whenever possible, perform the installation in a warm, dry area to enhance adhesive performance.
-
Take Your Time: Rushing can lead to misalignment or trapped air bubbles. Patience ensures a professional-looking result.
-
Trim Excess Foam: Use scissors or a utility knife to trim any excess foam for a clean fit around edges and contours.
-
By following these steps, you can achieve a smooth and durable EVA foam installation on your SXS, Truck, Boat, or Cooler, enhancing both protection and aesthetics.
Thank you for your purchase and for supporting our company!
![]()
© 2025 CRC Foam . All rights reserved.